

Stepping into the spirit realm of Death Howl feels overwhelming at first. You're thrown into a Scandinavian folklore-inspired world with no tutorial, just you, a handful of cards, and hostile spirits ready to send you back to square one. This brutal soulslike deckbuilder doesn't hold your hand, but once you understand its rhythms, the challenge transforms from frustrating to deeply rewarding.
Your journey through the thirteen realms demands tactical thinking, careful resource allocation, and patience. Every decision matters when you're balancing five precious mana points between movement and playing cards. Let's break down the essential strategies that'll help you survive your first hours in this unforgiving spirit world.
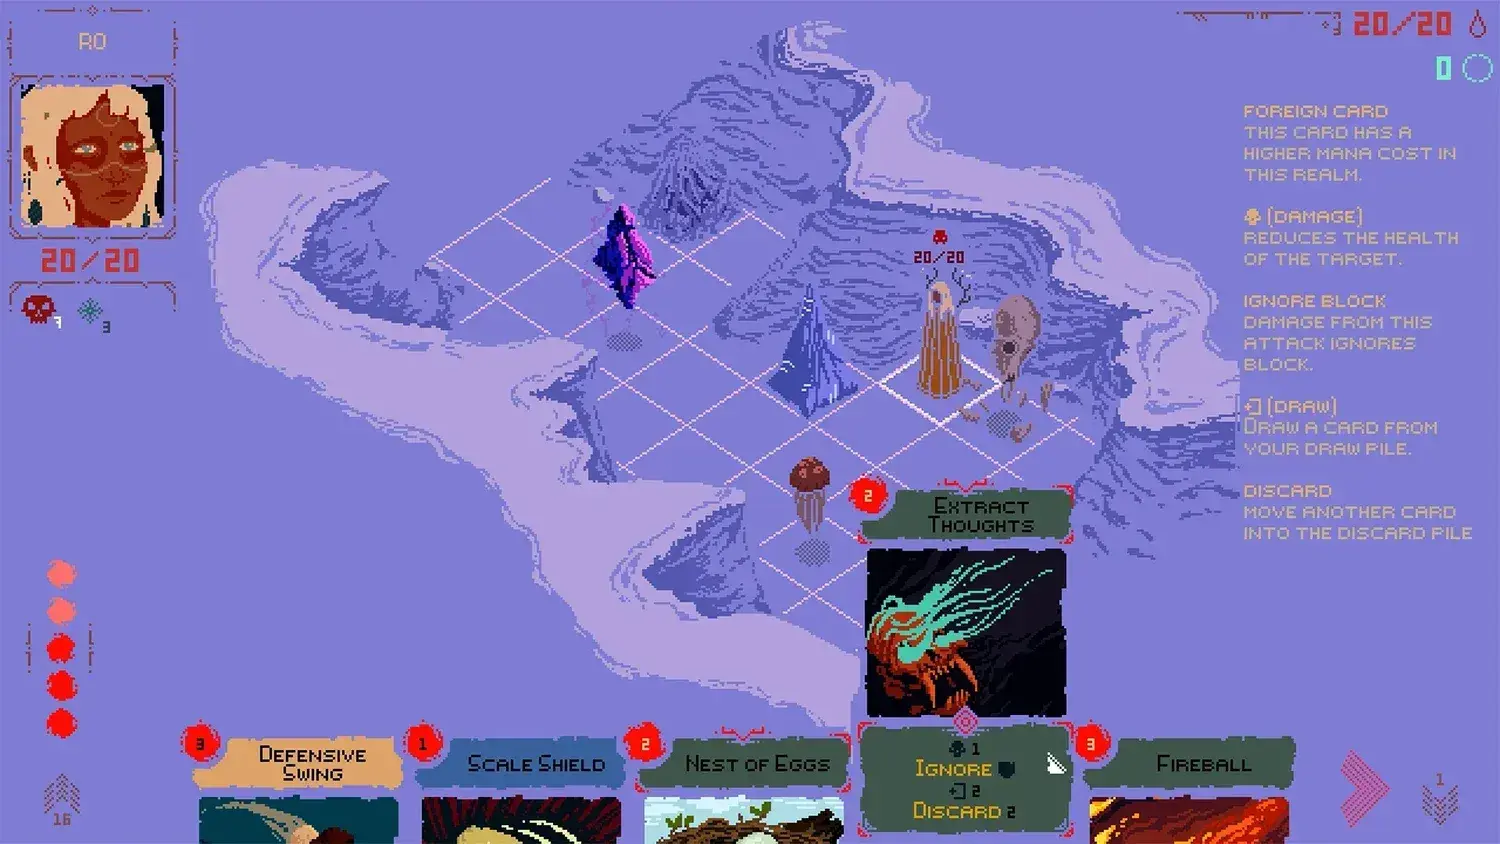
The Combat System
Combat in Death Howl operates on a grid-based system where positioning equals survival. You get five mana points per turn to split between moving across squares and playing cards from your hand. Movement works like a chess rook (straight lines only, no diagonals), with each square costing one mana point.
Cards display their mana cost in a red circle at the top-left corner. Some cards only function at specific ranges. Aim for the Heart needs distance to work, while others like Defensive Swing reward you for standing adjacent to enemies. You'll discard your entire hand at turn's end, so hoarding cards for "the perfect moment" doesn't work here.

Death Howl Combat
Enemy counterattacks happen automatically when you're in range, making positioning critical. Study their attack patterns during your first few encounters. That Gloomcroak pulling you in with its tongue? Plan your spacing accordingly. Those Dreadfins attacking from range? Close the gap or use ranged cards yourself.
Tip
Movement costs add up fast. Calculate your total mana spend before committing to actions. Getting stuck one square away from landing a killing blow wastes your entire turn.
Sacred Groves
Sacred Groves function as your lifeline through the spirit realm. These checkpoints restore your health completely and convert your accumulated Death Howls into Teardrop Points automatically. Here's the catch: resting at a Grove respawns every enemy you've defeated since your last rest.
This respawn mechanic isn't punishment. It's your grinding opportunity. You can farm the same spirits repeatedly, learning their patterns while stockpiling Death Howls for card crafting or Teardrop upgrades. The Xbox Game Pass December lineup (mentions Death Howl in Xbox Game Pass lineup) brought this game to many new players who discovered this farming loop essential for progression.
Groves also serve as fast-travel points. Once unlocked, you can teleport between them from any map location. This makes backtracking for resources or returning to easier farming spots incredibly convenient.
Map Symbol Breakdown
Your map displays several key markers:
Should You Craft Cards or Unlock Teardrops First?
This creates the biggest early-game dilemma. Death Howls serve dual purposes: crafting new cards and purchasing Teardrop skill upgrades. The moment you rest at a Sacred Grove, any Death Howls you're carrying automatically convert to Teardrops.
Craft cards before resting if you're sitting on enough Death Howls for something useful. Once you trigger that Grove, your currency converts whether you wanted it to or not. I recommend focusing on card crafting when entering new realms, then funneling excess Death Howls into Teardrops when your deck feels solid.
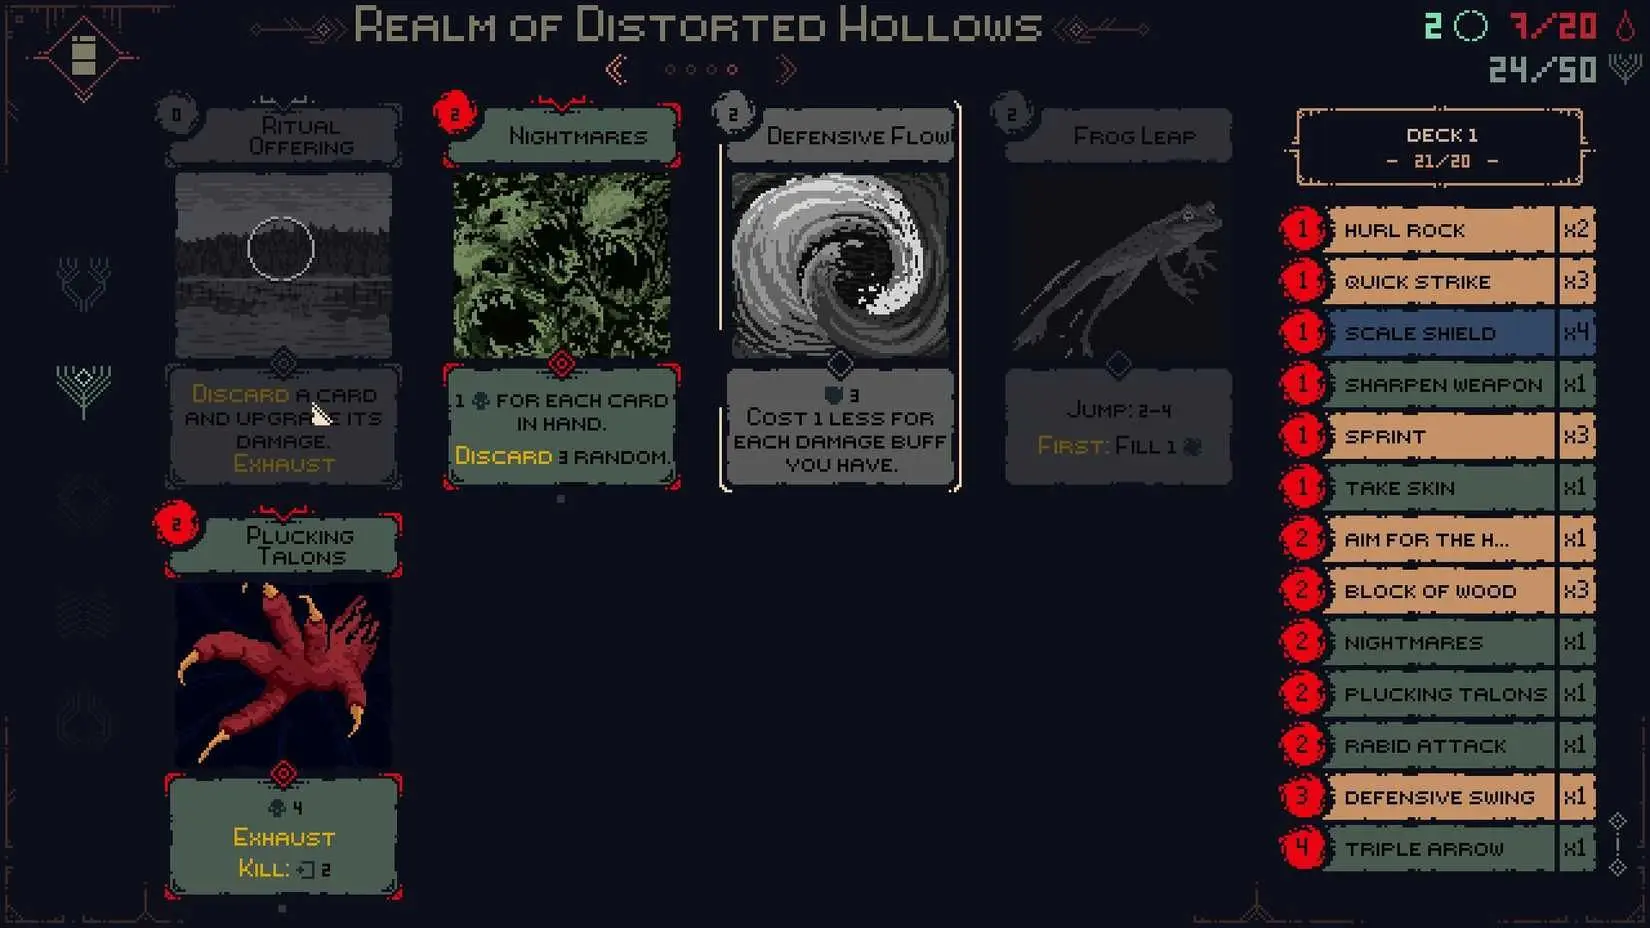
Death Howl Card Crafting
Each of the four realms features its own separate Teardrop skill tree. Maxing out skills in the first realm doesn't carry over to the second. This makes realm transitions feel punishing initially, since you're essentially starting fresh with your upgrade progression.
Warning
Cards from previous realms increase in mana cost when used in new realms. Stock up on Realmless cards to maintain deck efficiency across zones.
Which Early Cards are the Best
Your starting deck feels anemic, but certain early unlocks dramatically improve your survival odds. Focus on these cards during your first realm:
Block of Wood (2 mana) grants two shield points. Simple, reliable, and combos beautifully with other defensive cards. Defensive Swing (3 mana, reduced by 1 per shield point) becomes a one-mana powerhouse after using Block of Wood.
Quick Strike (1 mana) deals one damage and pushes enemies back two spaces. This positioning tool sets up ranged attacks perfectly. Follow it with Aim for the Heart (2 mana, ranged) for efficient damage without counterattack risk.
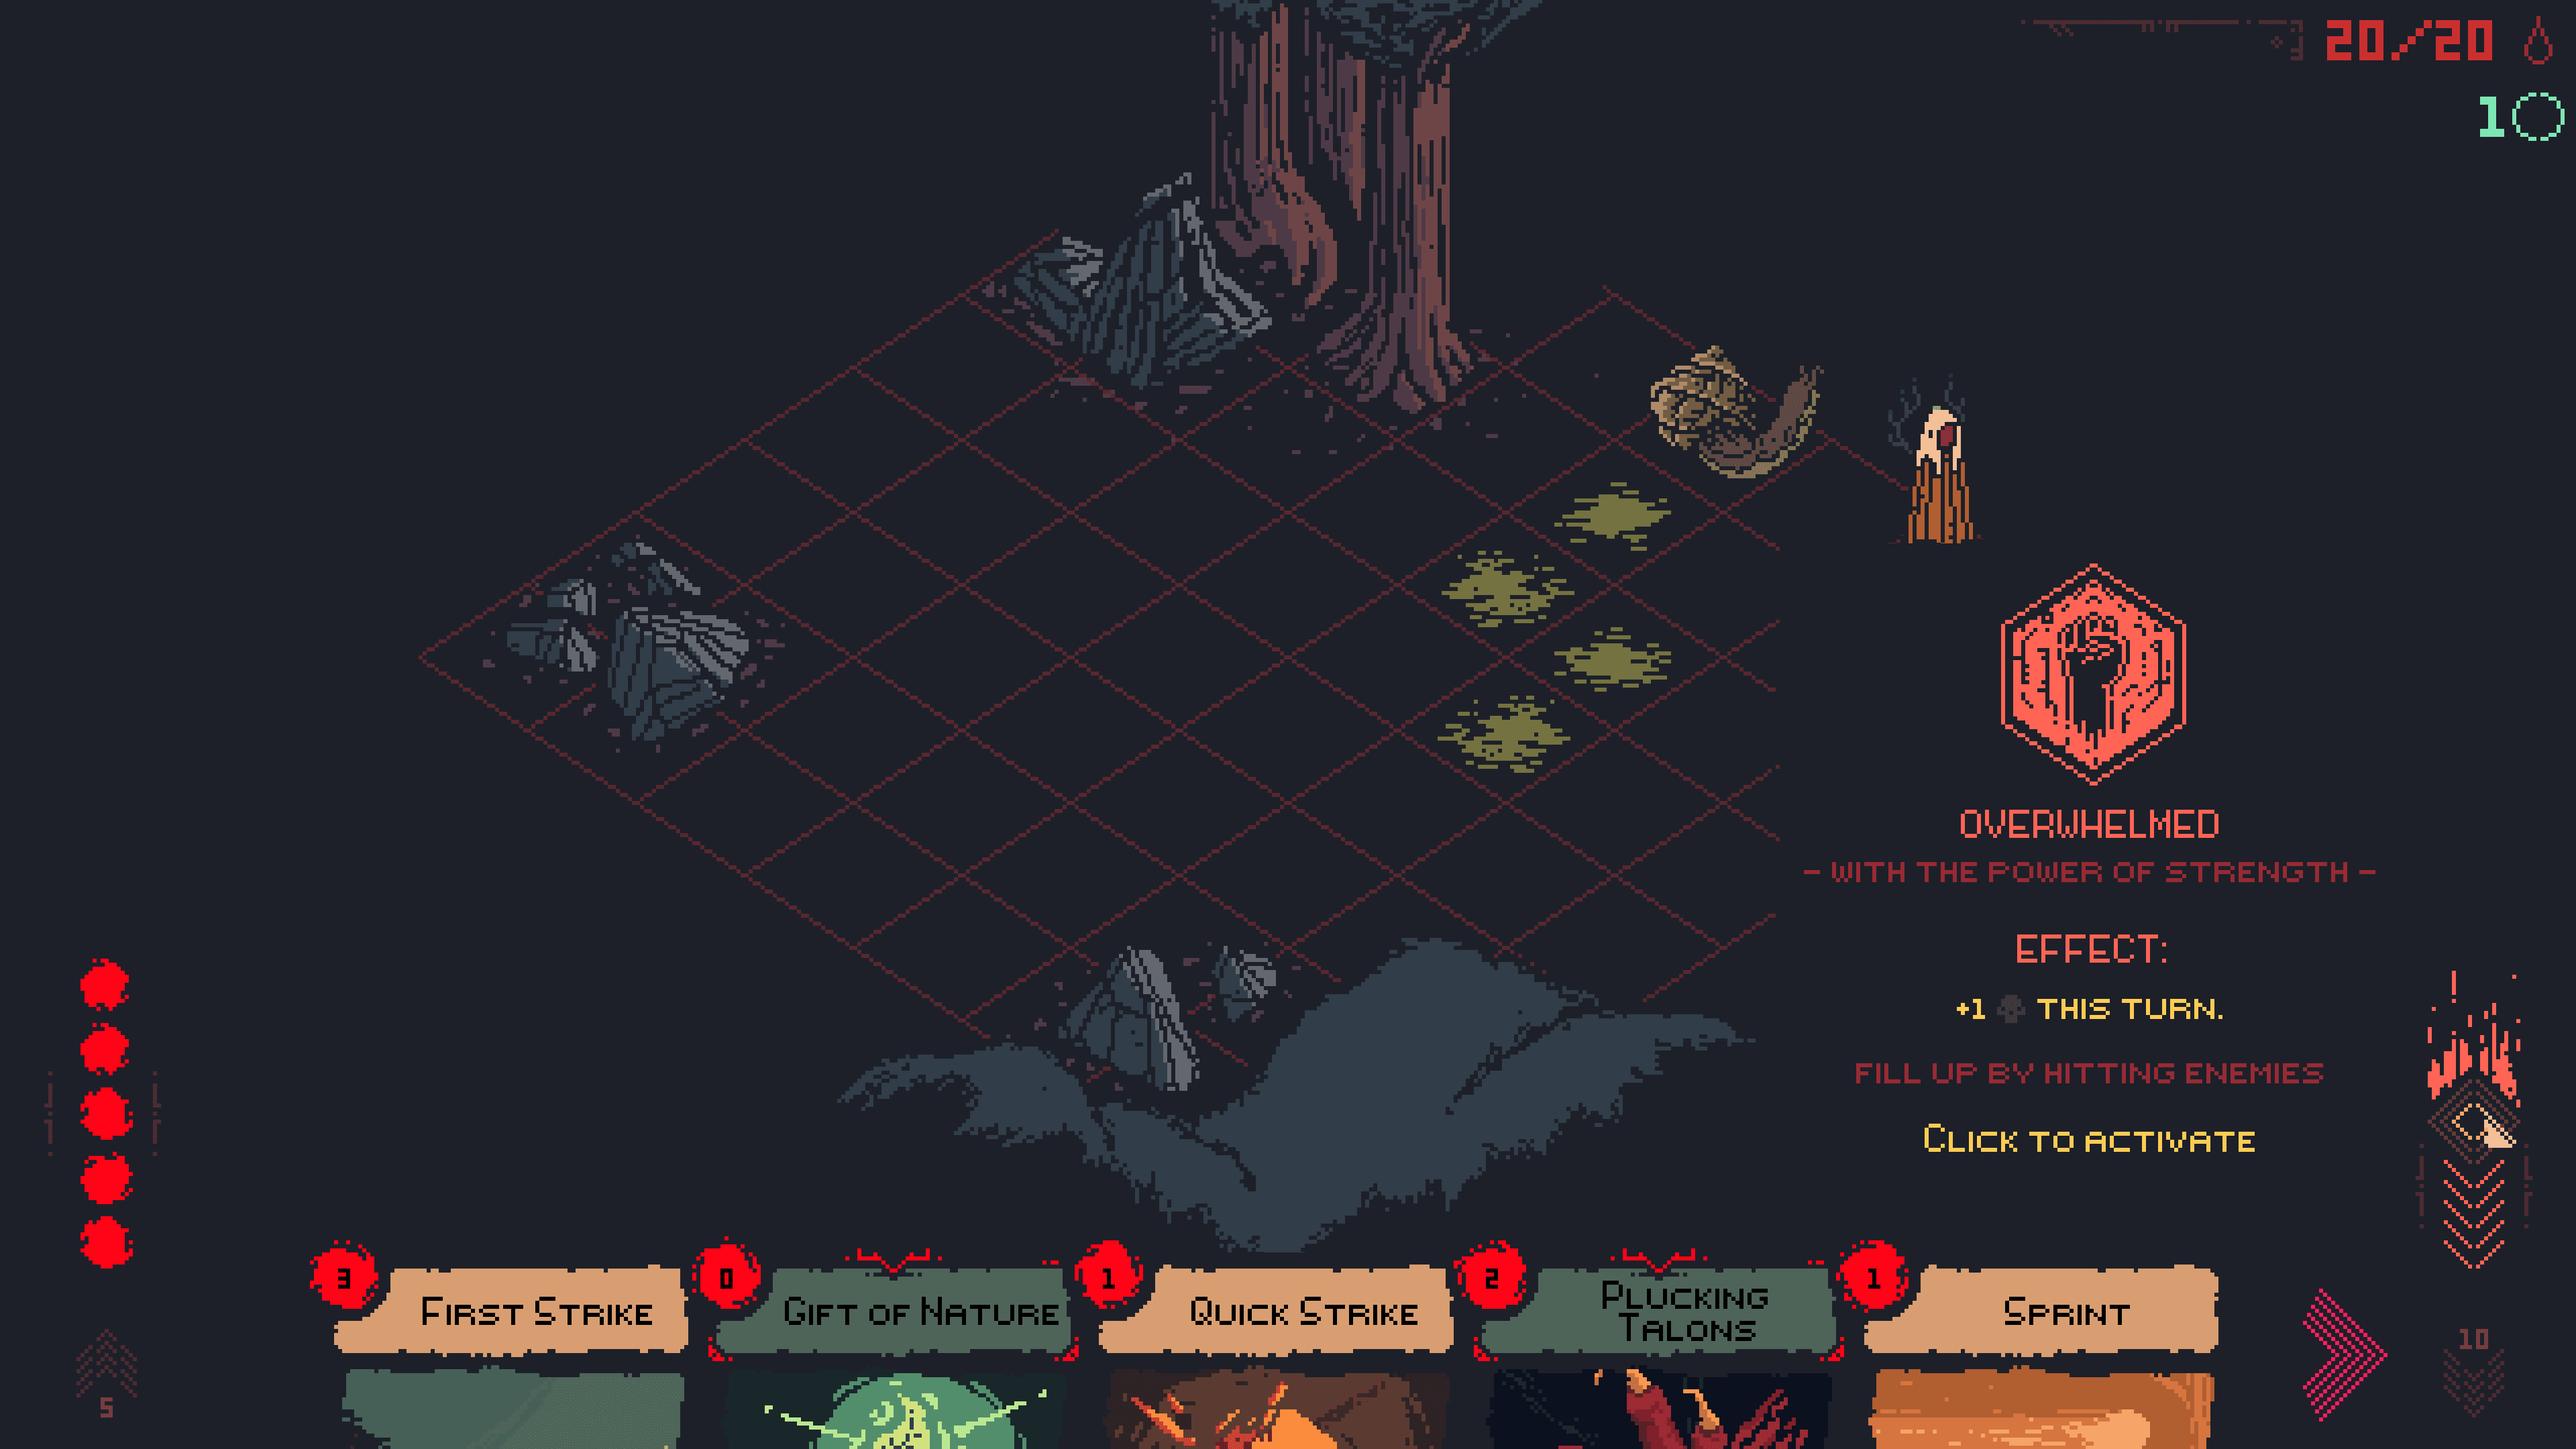
Furious Strike (4 mana, reduced by 1 per card played this turn) rewards aggressive sequencing. Play three cheap cards first, and Furious Strike becomes free. Sprint (1 mana, sacrifice a card) provides emergency mobility when you absolutely need those extra two squares.
Card Synergy Example
Here's a basic combo chain that works from minute one:
- Play Block of Wood (2 mana) for shield
- Use Defensive Swing (now 1 mana due to shield) for damage
- Follow with Quick Strike (1 mana) to push enemy back
- Finish with Aim for the Heart (2 mana) from range
Total cost: 6 mana across two turns, but you've dealt solid damage while minimizing counterattacks.
Death Howl Card Synergy
Shamanic Totems
Totems provide pre-battle bonuses, but you can only equip one at a time early on. You'll unlock four relatively quickly, making the choice significant.
Brother's Bracelet and Mother's Cloth stand out as the strongest early options. Brother's Bracelet offers consistent combat advantages, while Mother's Cloth provides defensive utility that keeps you alive during learning phases.
The Tree Root Totem hides behind a challenging Elder Spirit encounter but delivers powerful benefits worth the struggle. Exploration-focused players who venture off the beaten path find these game-changing items first.
Enemy Abilities to Lookout for
Certain enemy mechanics punish unprepared players brutally. The Doomed status effect tops this list. If you can't discard a Doomed card, you die at your turn's end. Period. Prioritize removing these cards immediately or avoid enemies that inflict them until you understand the counter-play.
Gloomcroaks pull you into melee range with tongue attacks, disrupting your positioning plans. Dreadfins attack from distance, forcing you to close gaps or match their range. Some spirits poison you, ticking damage over multiple turns. Others shield all spirits on the battlefield, making AOE approaches ineffective.
Death Howl Enemy Abilities
Learn these patterns through repeated exposure. Your first encounter with a new spirit type will probably hurt. Your fifth encounter? You'll dance around their attacks effortlessly.
What Makes Death Howl Different from Other Deckbuilders?
Most deckbuilders let you hoard cards and wait for the perfect turn. Death Howl doesn’t. Every turn ends with a full discard, so every decision matters right now. If you don’t use a card, it’s gone. On top of that, the grid-based movement means positioning directly affects what cards even work. Spacing, range, and timing matter just as much as resource management, and one bad step can ruin an otherwise strong turn.
The soulslike elements tie everything together. Enemies respawn, checkpoints matter, and learning patterns is part of progression. You’re not just building a deck, you’re learning a combat rhythm. It’s punishing early, but fair, and once it clicks, Death Howl becomes deeply satisfying. Thanks for reading, and good luck surviving the spirit realm.