
Ninja Gaiden 4 throws 20 brutal boss encounters at you, each demanding precision, patience, and perfect execution. Whether you're struggling with the opening D.D.O. Commander or preparing for the legendary showdown against Ryu Hayabusa, this guide breaks down every boss fight with proven strategies that'll turn you from prey into predator.
From mastering the crucial Hōgeki counter system to exploiting specific attack patterns, you'll learn exactly when to strike, when to defend, and how to dominate even the most challenging encounters on Master Ninja difficulty.
Essential Combat Mechanics for Boss Success
Before diving into specific encounters, you need to master the core systems that separate victory from defeat.
The Hōgeki Counter System
When any boss glows red, they're charging an unblockable power attack. Your only option? Hit them with a Blood Raven or Gleam stance attack to trigger a devastating Hōgeki counter. This staggers the boss and opens massive damage windows.
tip
Practice Hōgeki timing on the first boss. Missing this counter against later enemies often means instant death.
Perfect Defense Mechanics
- Perfect Dodge: Dodge at the last second for slow-motion effects and essence drops
- Parry Timing: Block just before impact to break enemy combos
- Fatal Flash: Counter-attack immediately after successful parries

Ninja Gaiden 4 All Bosses
Early Game Boss Encounters
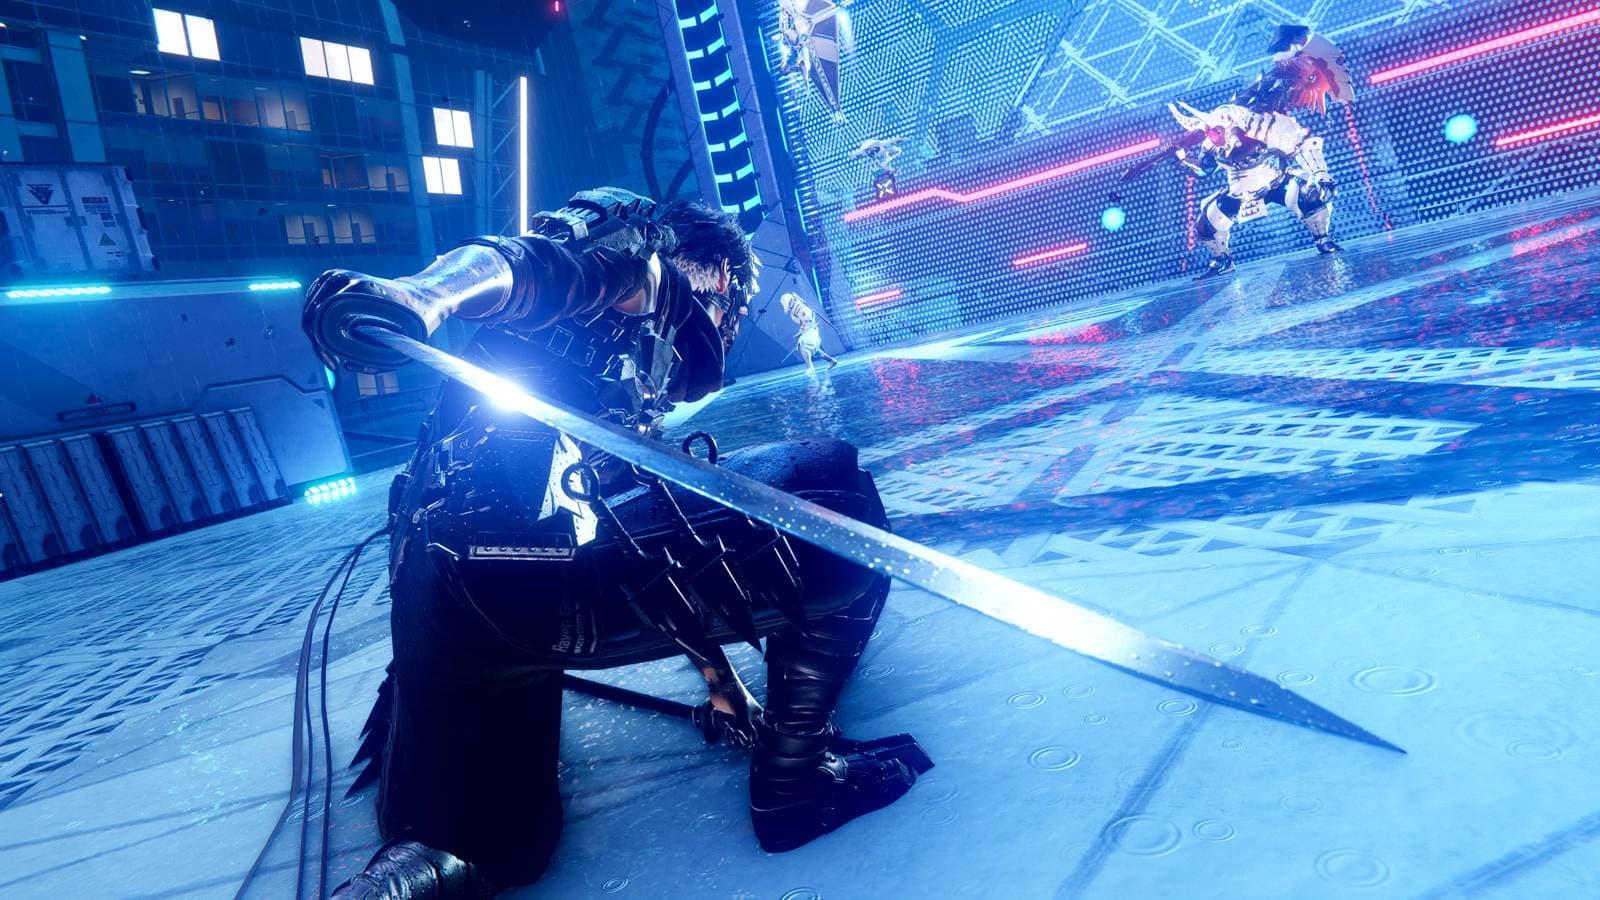
D.D.O. Commander (Chapter 1)
This tutorial boss teaches fundamental mechanics with slow, telegraphed attacks. Focus on learning rather than rushing.
Key Attacks:
- Sword thrust combo (3 hits)
- Red-glow power slash
- Lightning area attacks (Phase 2)
Strategy: Use this fight to master parry timing. When he sheathes his sword and glows red, immediately activate Blood Raven stance and counter. The lengthy wind-up gives you plenty of time to react.

Ninja Gaiden 4 Boss Guide: How to Beat All Bosses
D.D.O. Proto-Goliath (Chapter 2)
A massive mechanical foe accompanied by five adds - three flying drones and two ground units.
Priority Targets:
- Flying drones (use Caddis Wire to reach them)
- Ground adds
- Main boss
Critical Moves:
- Hammer slam with electrical pools
- Three-hit combo (upward, upward, horizontal)
- Jumping power attack with red telegraph
warning
Never stand in the electrical pools. They deal continuous damage and limit your mobility options.
Strategy: Clear adds first while dodging the boss's slow hammer swings. Use Blood Raven stance to stagger him during red-glow attacks, then unleash full combos while he's stunned.
Mid-Game Challenges
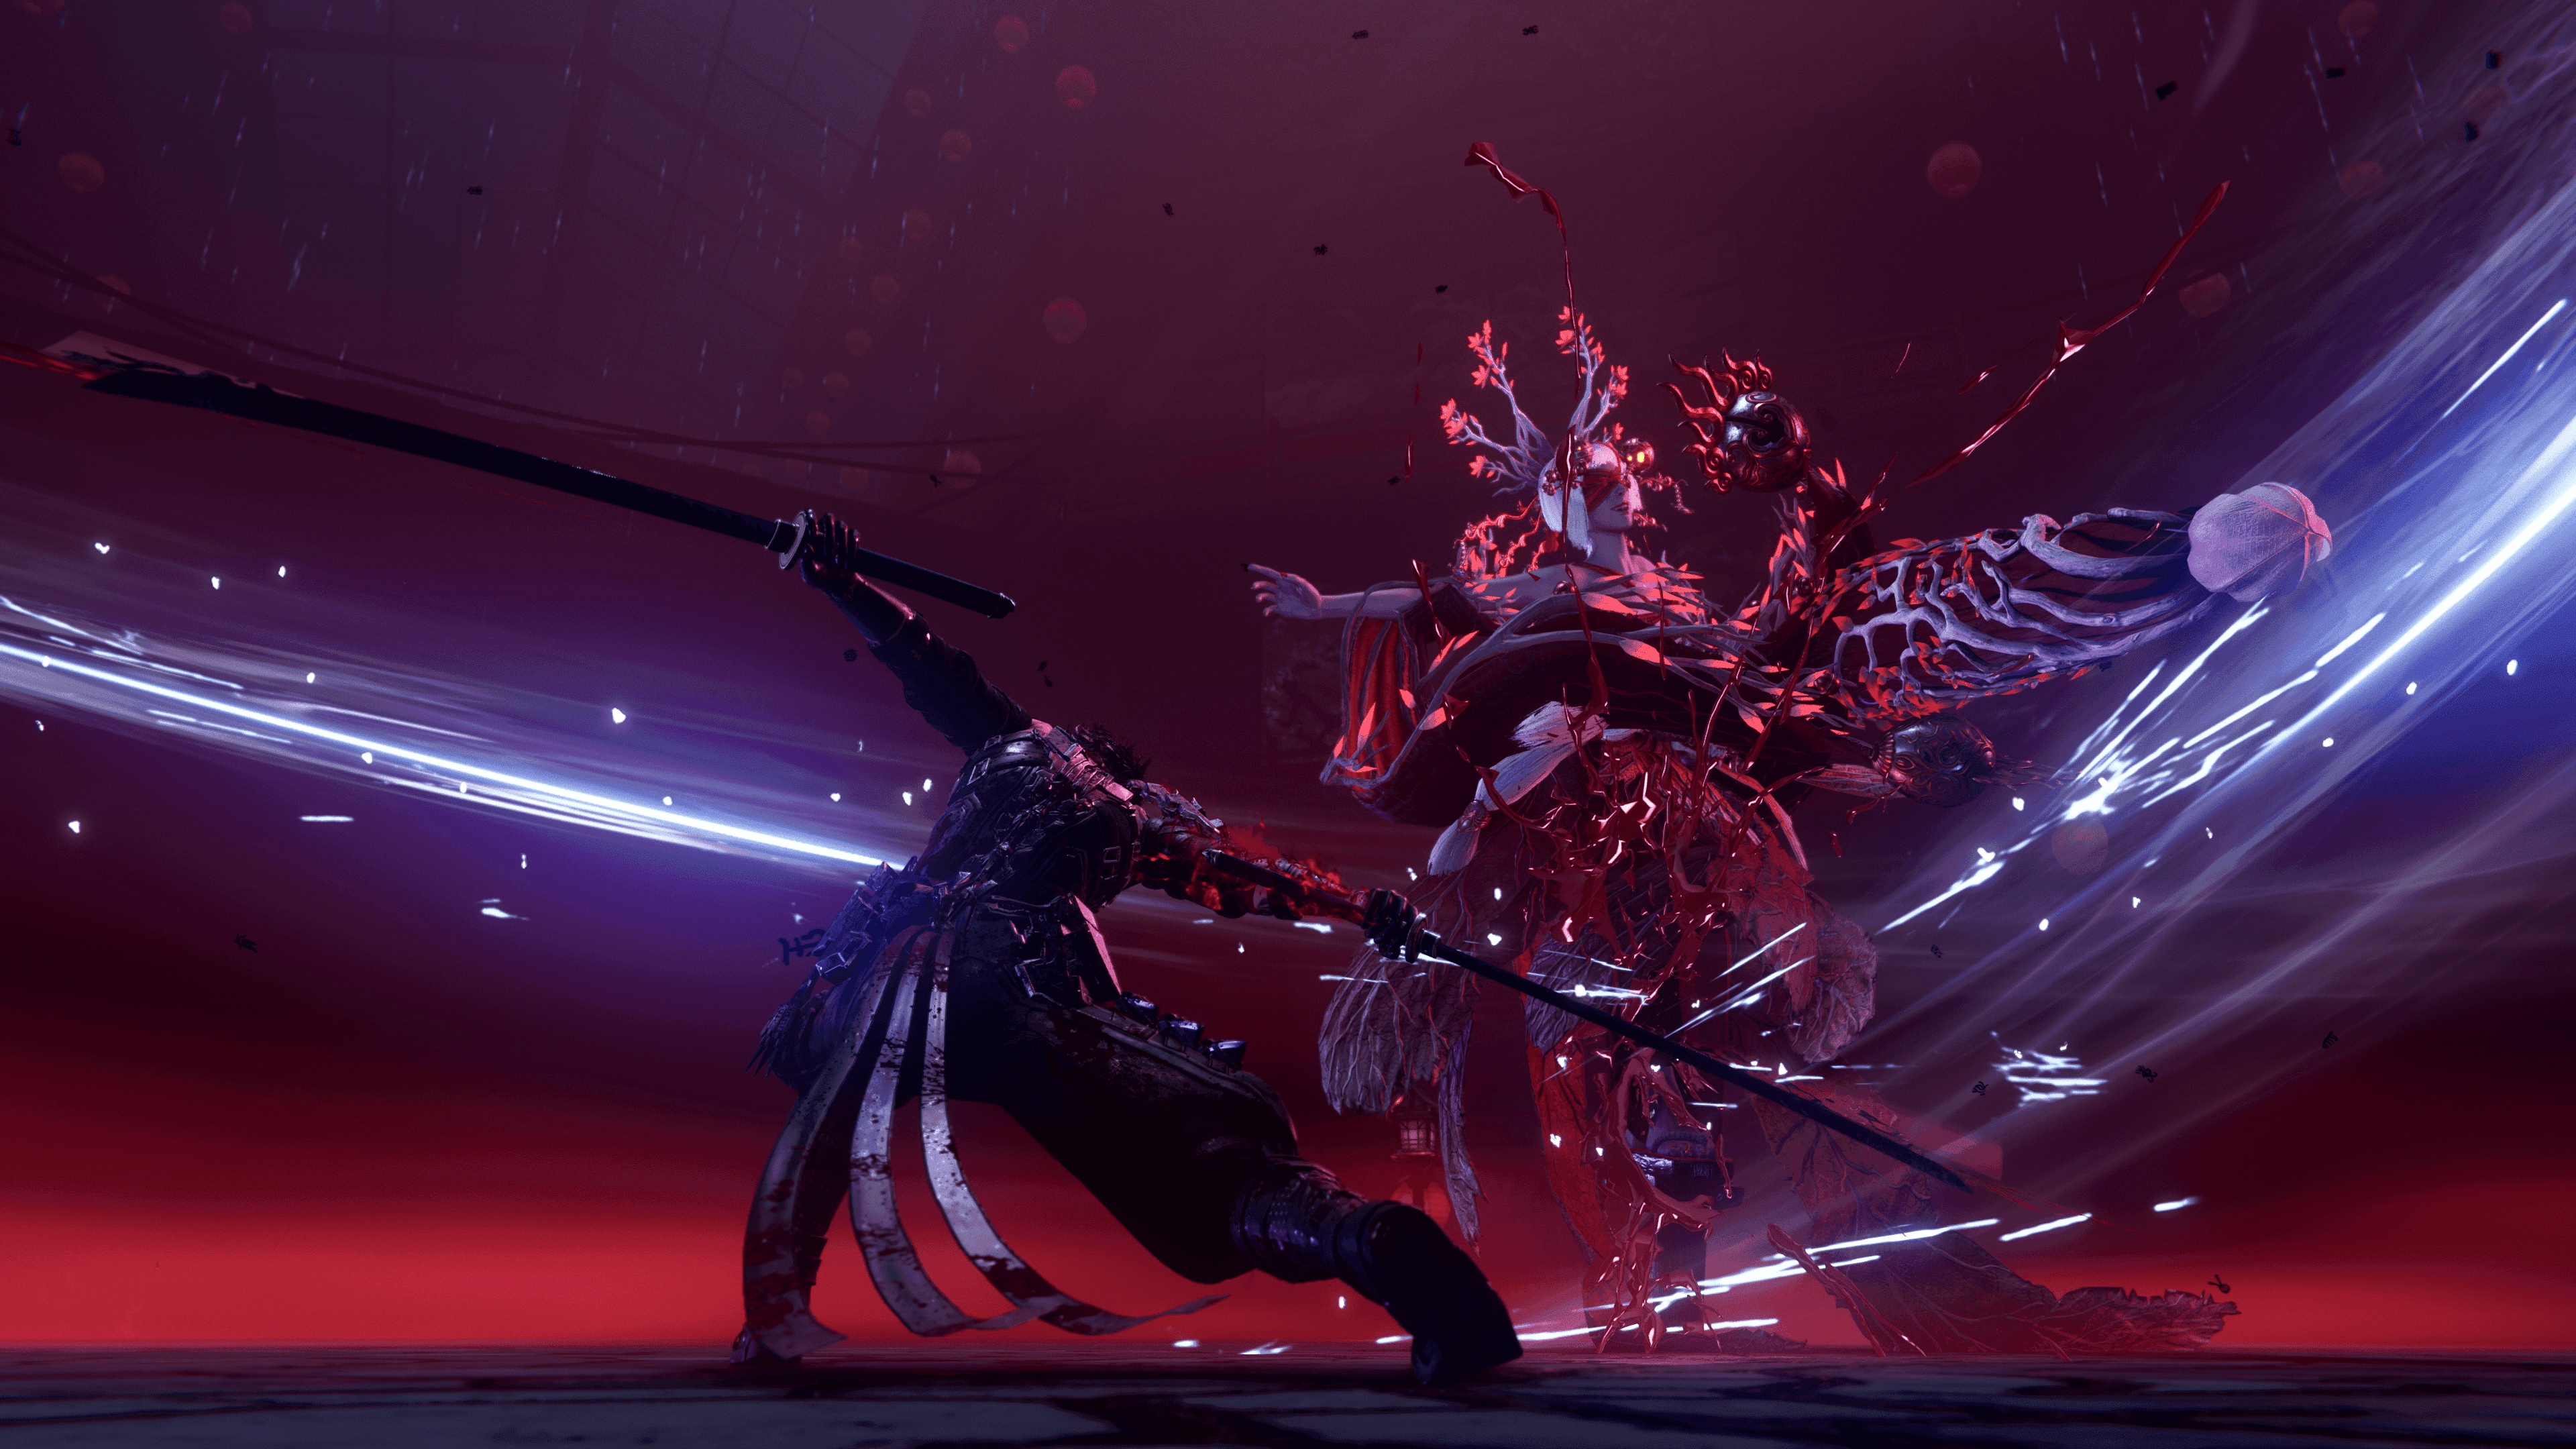
Kitsune Courtesan (Chapter 3 & 16)
You face this agile fox spirit twice - once as a tutorial encounter, then as a serious threat with enhanced abilities.
First Encounter Moveset:
- Umbrella three-hit combo
- Spinning umbrella attacks
- Bullet-hell projectile waves
Second Encounter Additions:
- True form with bushy tail
- Five-umbrella summoning attack
- Enhanced mobility and blocking
Strategy: Stay aggressive during the first fight. For the rematch, learn her rhythm - she's almost musical in her attack patterns. When she glows red for projectile volleys, immediately Blood Raven counter for extended damage windows.

Kitsune Courtesan - Ninja Gaiden 4 ...
Sanzeon (Chapter 5)
A teleporting stone guardian with two distinct phases.
Phase 1 Abilities:
- Laser attacks from altar positions
- Talisman rain with homing properties
- Three-laser spinning attacks
Phase 2 Transformation:
- Humanoid form with multiple weapons
- Detachable arms that attack independently
- Spinning weapon combinations
Strategy: Stay close during Phase 1 to limit teleportation opportunities. In Phase 2, focus on the main body while dodging the detached arm attacks. His hitbox can be inconsistent, so don't overcommit to long combos.
Advanced Boss Encounters
Kurobo (Chapter 7 & 17)
This shape-shifting beast alternates between dog and bird forms, creating complex aerial and ground combat scenarios.
Dog Form Attacks:
- Wing slam combos
- Leaping slash sequences
- Ground-based power attacks
Bird Form Additions:
- Aerial charges
- Tornado summoning
- Bomb drops from bells
Strategy: Perfect parry is crucial here. Most attacks can be parried for Fatal Flash opportunities. Use Caddis Wire to gain height when he's airborne, and always watch for the red-glow power attack windows.
Veilotl (Chapter 9)
A massive creature with devastating area attacks and add summoning capabilities.
Phase 1 Patterns:
- Three-slam ground combo
- Sweeping attacks (low to high)
- Leaping power attacks with splash damage
Phase 2 Complications:
- Internal add spawning
- Projectile vomit attacks
- Full-arena charge attacks
important
The stagger windows are extremely brief. React to the red flash immediately or miss your opportunity entirely.
Strategy: Stay underneath him in Phase 2 to avoid most attacks. Prioritize Ultimate Techniques for maximum damage during brief openings.
Elite Endgame Bosses
Cetus (Chapter 10 & 15)
An aquatic predator that combines underwater mobility with devastating surface attacks.
Core Mechanics:
- Underwater diving with surface ambushes
- Two-hit combos (both parryable)
- Projectile attacks and smaller shark summons
Strategy: Charge Ultimate Techniques while he's underwater, then unleash when he surfaces. The brief stagger window as he emerges is your best damage opportunity.
Kagachi (Chapter 13)
A one-armed samurai master representing pure skill-based combat.
Fighting Style:
- Defensive blocking stance
- Lightning-fast red attacks
- Counter-focused combat
Strategy: This is a patience test. Bait attacks, perfect parry his combos, then counter with Fatal Flash. Never get greedy - land a few hits and return to defense immediately.
Ninja Gaiden 4 Boss Guide: How to Beat All Bosses
The Ultimate Challenges
Ryu Hayabusa (Chapter 19)
The legendary Dragon Ninja himself, wielding his complete moveset against you.
Signature Attacks:
- Flying Swallow aerial strikes
- Izuna Drop grappling moves
- Gleam form enhanced aggression
Strategy: This is your final exam. Perfect dodge the Flying Swallow, parry standard combos, and survive his Gleam form activation. Your main damage comes from Hōgeki counters on his charged attacks.
warning
You must be flawless. Any major mistake against Ryu likely means starting over.
Dark Dragon (Chapter 19 - Final Boss)
The ultimate challenge with multiple phases and devastating attacks.
Phase Breakdown:
- Standard form with massive area attacks
- Phantom Form with enhanced speed and power
- Environmental hazards and projectile barrages
Strategy: Apply everything you've learned. Use the environment for cover, time your Hōgeki counters perfectly, and maintain constant movement to avoid the devastating area attacks.